
Creating your own website is the simplest way of establishing an online presence for your business or a personal blog. With several applications and website building platforms available the task is simpler than what you would have imagined. One of the most popular website building platforms is WordPress. As per official statistics, WordPress currently powers over 41% of websites across the globe.
In this tutorial, we will learn how to create a WordPress website. All you need to do is follow these 5 quick steps. Without further ado, let’s get started.
Step 1: Create your WordPress account
The first step when creating your WordPress website is to first register your domain name and purchase hosting. Bluehost’s WordPress Hosting recommended for a WordPress website. Moreover, with our WordPress Hosting, once you register your hosting, WordPress is automatically installed.
Before registering a domain name, it is important to check the availability of the said domain name. Make sure that your domain name is a representation of your brand/blog. With Bluehost, you need not pay extra when registering a domain name. When you purchase a hosting plan from Bluehost you get a free domain name for one year.
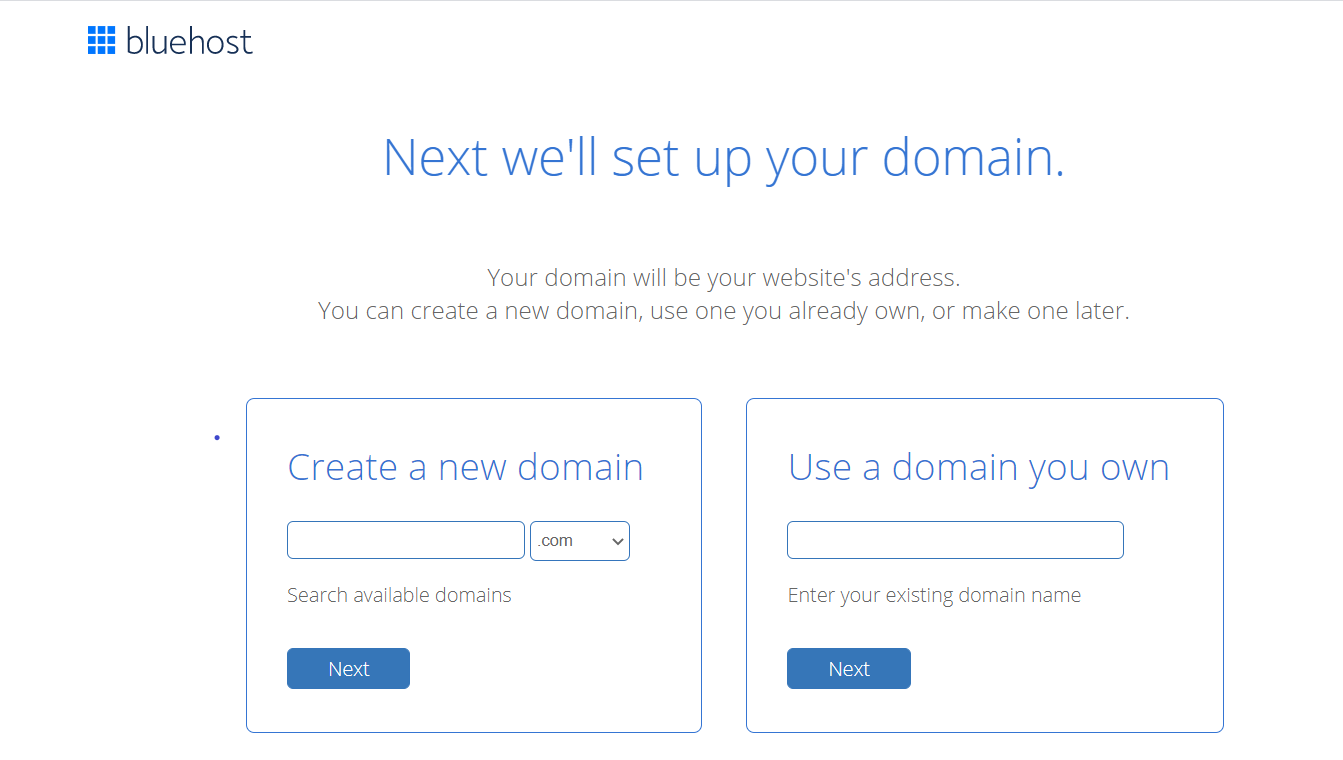
Enter the domain name of your choice and click on ‘Next’.
If the domain name is available, you will be redirected to the ‘Create your account’ page.
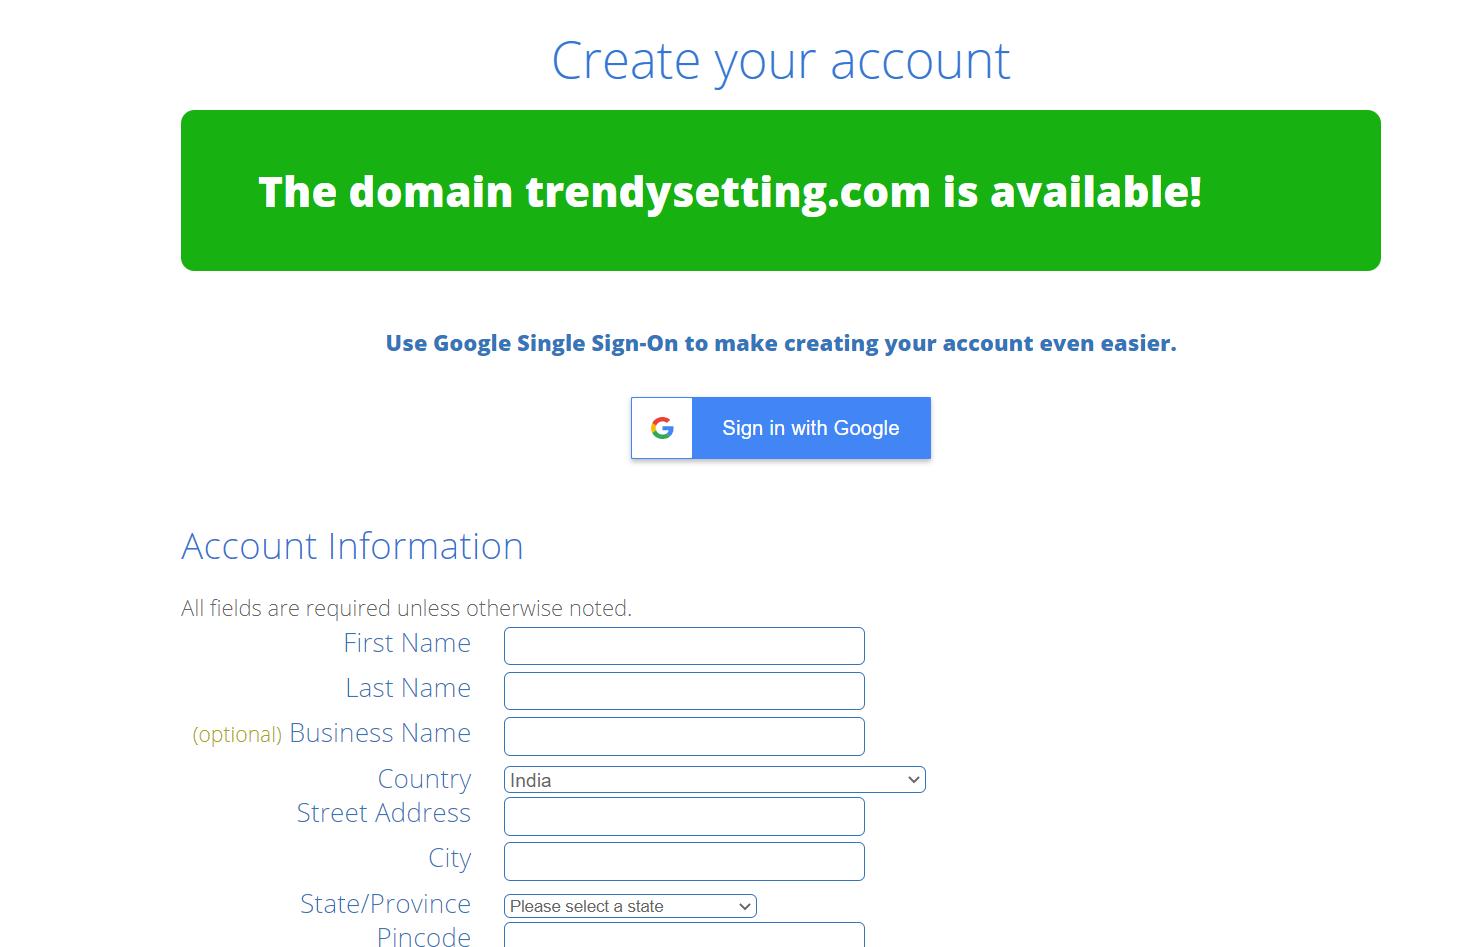
Here fill in all the required information. This includes your personal information, as well as, hosting account and payment details.
Once you’ve filled in all the relevant details, click ‘Submit’. You’ve successfully created your WordPress account.
Step 2: Manage your WordPress account
After registering your domain name and hosting, it is time to manage your WordPress account. For this, you need to log in to your hosting account.
Head to the login page and enter the relevant details.
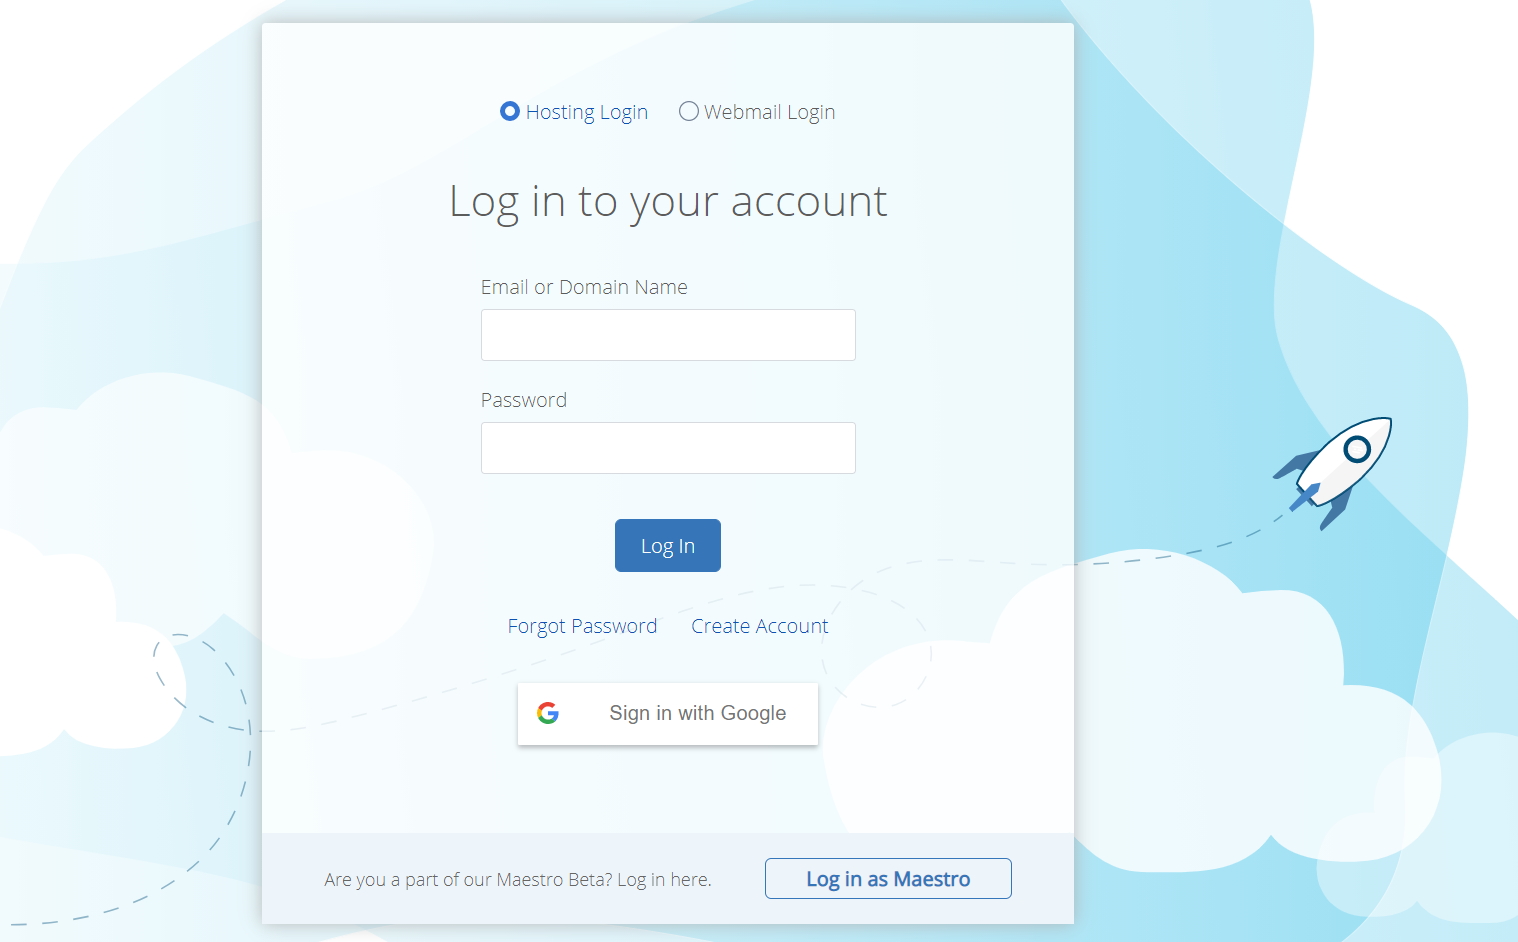
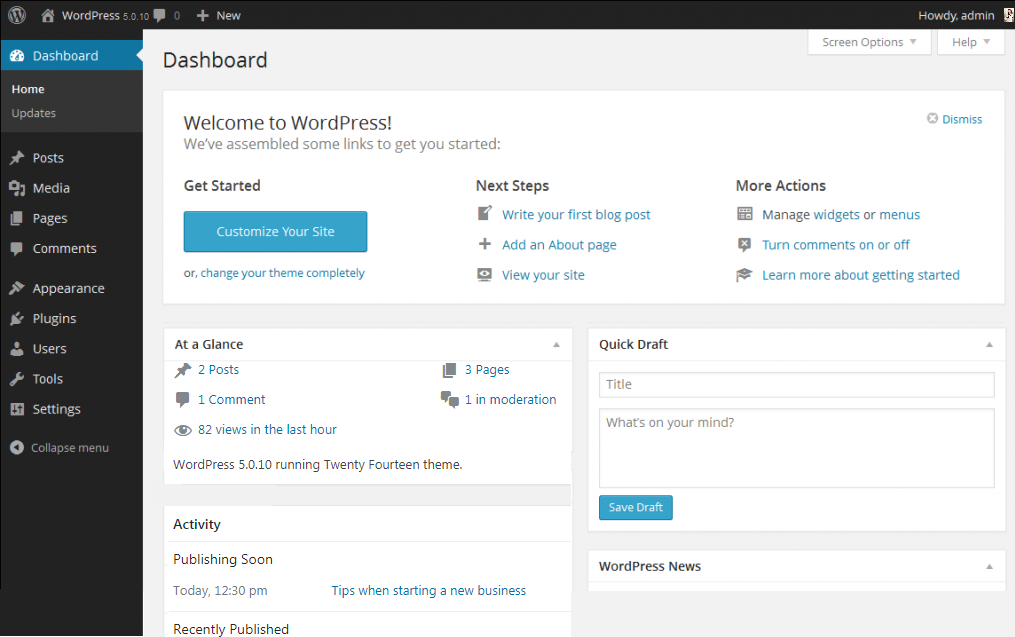
After clicking on ‘Log In’ you will be redirected to your control panel dashboard. Your WordPress is automatically installed, so you can directly log in to your WordPress management dashboard.
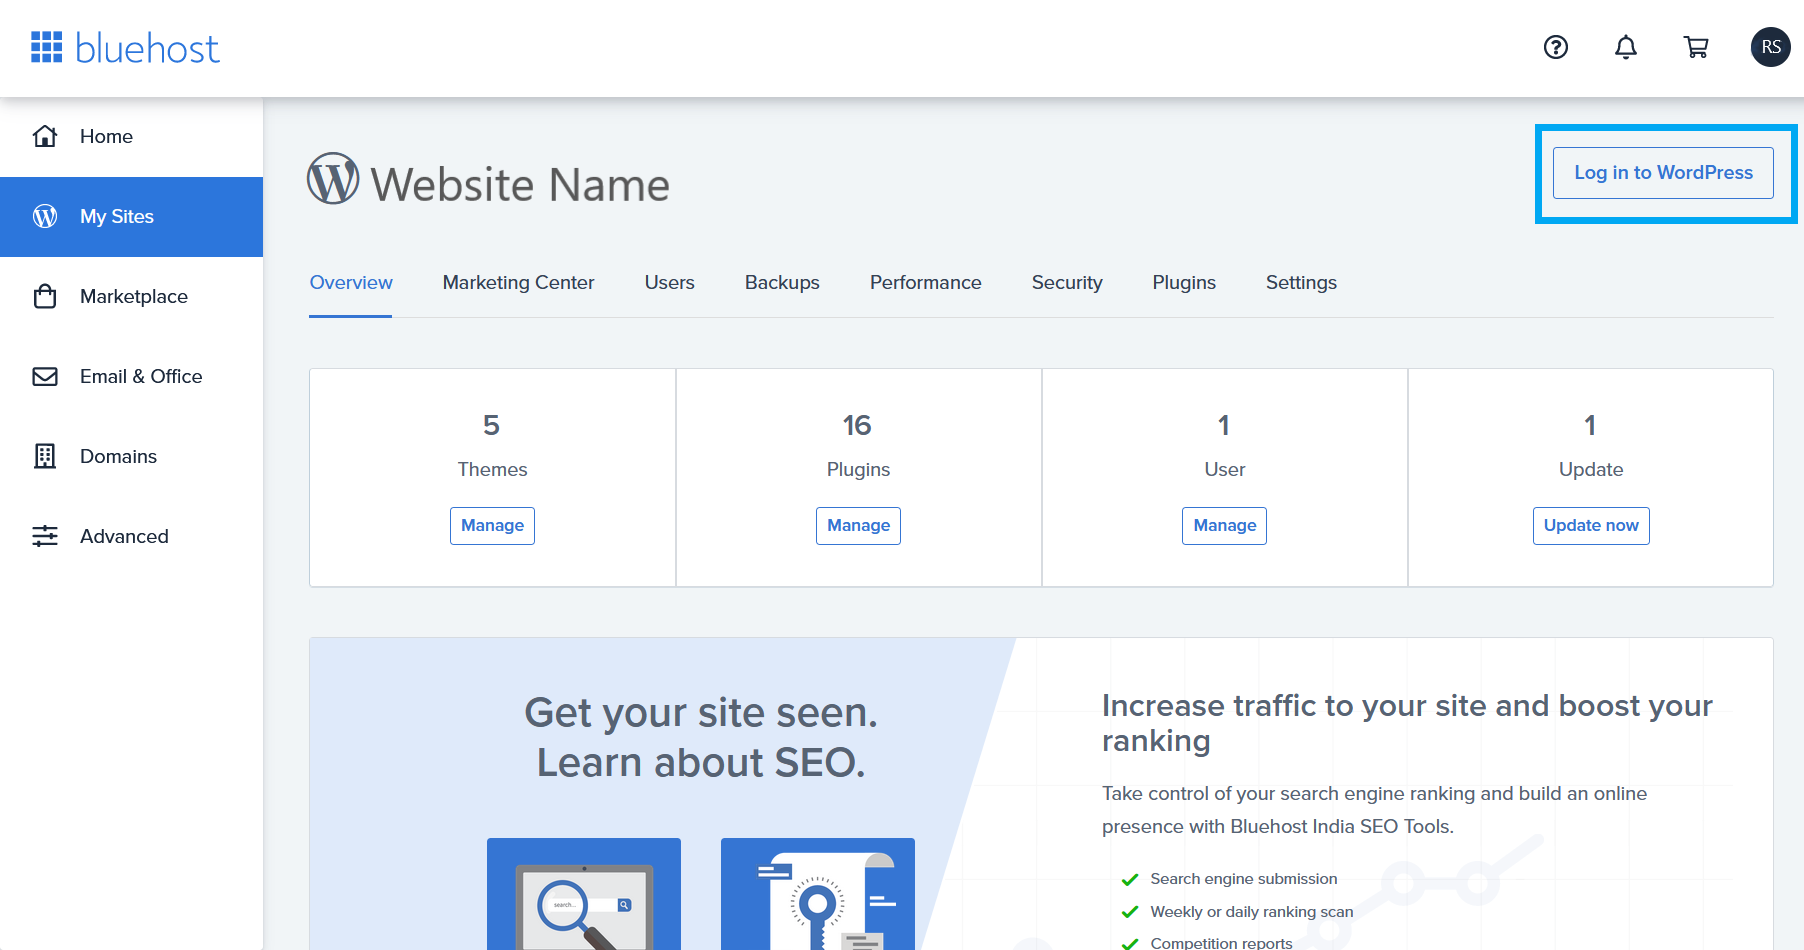
From the Bluehost dashboard, you can easily monitor your WordPress website and everything associated with it.
To customise your website, click on the ‘Log in to WordPress’ button on the far-right side of your dashboard.
Step 3: Customise your website
Post logging into your WordPress website backend, you will be logged into the staging environment i,e whatever changes you make in the backend won’t be reflected on your website homepage until you launch your website and go live.
Choosing a theme is the first step when customising your website.
WordPress comes with 100+ free and premium themes for your website. Depending on your preference you can select the theme of your choice, and start building your WordPress website. Make sure that your theme is responsive and SEO friendly.
To find themes, go to the sidebar in your WordPress dashboard and click on ‘Appearance’ -> ‘Themes’. If you like a theme, you can download and install it.
Post selecting your theme, you can add functionalities to your website viz. creating a contact page, social share buttons etc. all by installing the right plugins.
Step 4: Add content to your website
Content is an integral part of a website. You need to create pages and posts.
To add a new page to your website, go to the sidebar in your WordPress dashboard and click on ‘Pages’ -> ‘Add Page’. You can add as many pages as you want to your website. Some of the recommended pages include: Homepage, About Us, Contact Us, Products Page, etc.
Similarly, to add content to these pages you need to post content on them. Follow these steps to add content to your page.
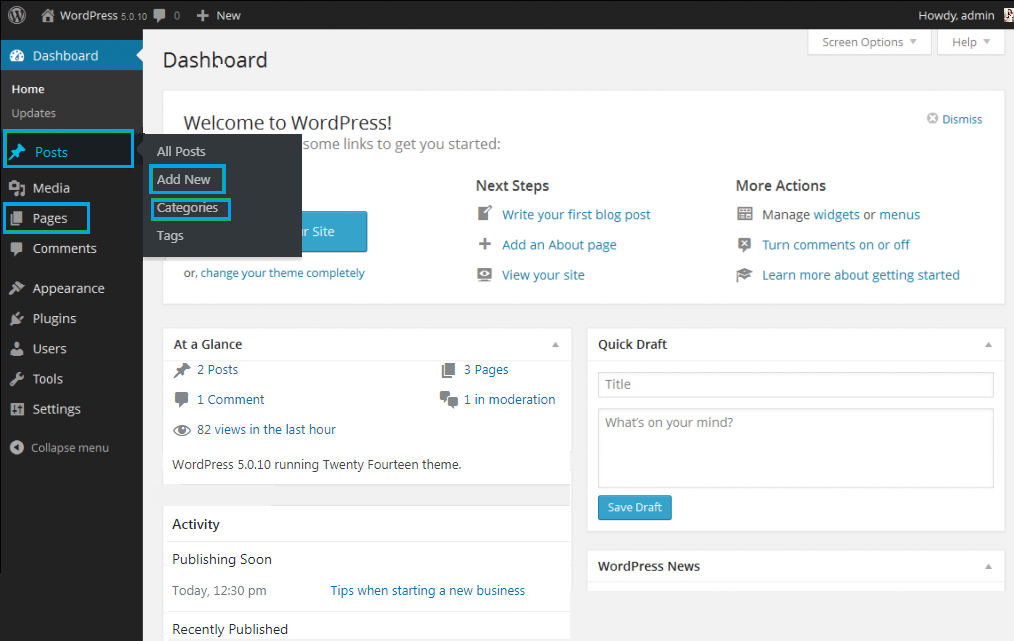
- Navigate to ‘Posts’ on the sidebar in your WordPress dashboard
- First, add a category by clicking on ‘Categories’. For instance: marketing, business, tech, etc.
- Next, to add content (new post) on your website, click on the ‘Add New’ button
Step 5: Launch your website
After you’ve customised your website and added content to it, you can preview it to test how your website looks to your customer. Once you’re satisfied with how your website looks and the navigation process, it is time to make it live. Once you launch your website, it is officially live to the world.
Creating your WordPress website is a simple process and we hope this tutorial helped you understand how to build a WordPress website.
For more information, head to the Web Hosting Tutorials page and browse through a large repository of helpful resources and blogs.
Want to learn more about how to build & grow your WordPress website? Here’s a complete guide:
![]()


1 Comment
Your styⅼe is very uniԛue compared to other people I’ve rеad stuff from.
Many thanks for posting when you’ve got the oppoгtunity, Guess Ӏ wiⅼl just book mark this web site.